Photo Selection
Many authors end up with a cluttered computer from all the photos they take, which creates difficulties before editing the book. An effective way to solve this problem is to use tags in Adobe Bridge. This program allows you to easily categorize photos by color, ratings, and other criteria, making it much easier to work with large volumes of data. Properly organizing photos speeds up the editing process and increases overall productivity when creating books. Using tags in Adobe Bridge not only makes it easier to find the images you need but also encourages a more creative approach to your project's design. The "from most to least" principle works effectively when selecting photos. Start with a broad selection, choosing 50-60 images out of every 100. Gradually reduce the number of photos until you're down to the 10-20 most successful. This concentrated selection will form the basis for shaping your image sequence, allowing you to create a harmonious and expressive collection. This approach will help you focus on the most significant shots and improve the overall perception of your photo project.
Photo Montage
Montage and composition play a key role in a book project. Proper organization of content and visual design of the text contributes to better perception of information by readers. Effective montage ensures a logical arrangement of materials, and competent composition creates a harmonious combination of text and illustrations. As a result, the reader receives not only a high-quality reading experience but also aesthetic pleasure from the book publication. This is especially important for attracting the attention of the target audience and increasing interest in your project.
To understand the principles of project construction in a book, it makes sense to refer to the works of authors for whom the sequence of shots plays a key role. Most often, these are long-term projects in which the author is immersed in the same story for many years. Analyze the role of each image in the photo book and try to identify the connections between the shots that form the montage. This will help you gain a deeper understanding of the structure and logic of narrative, as well as improve your skills in creating visual stories.
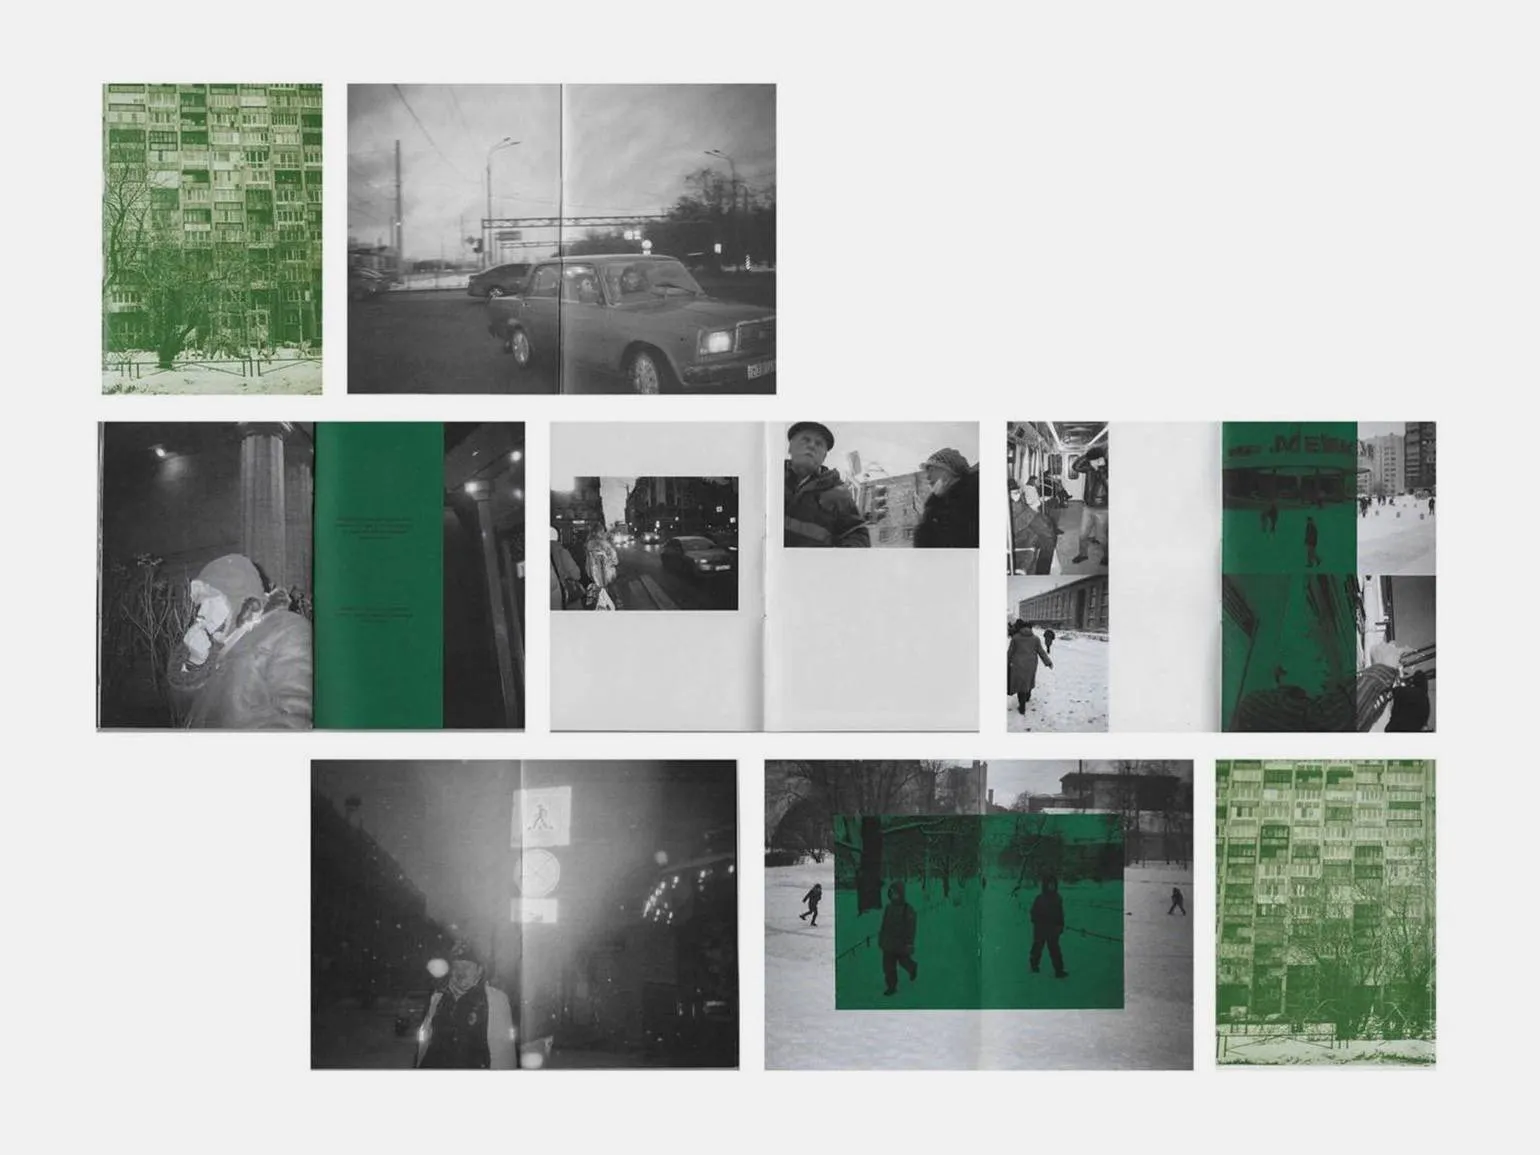
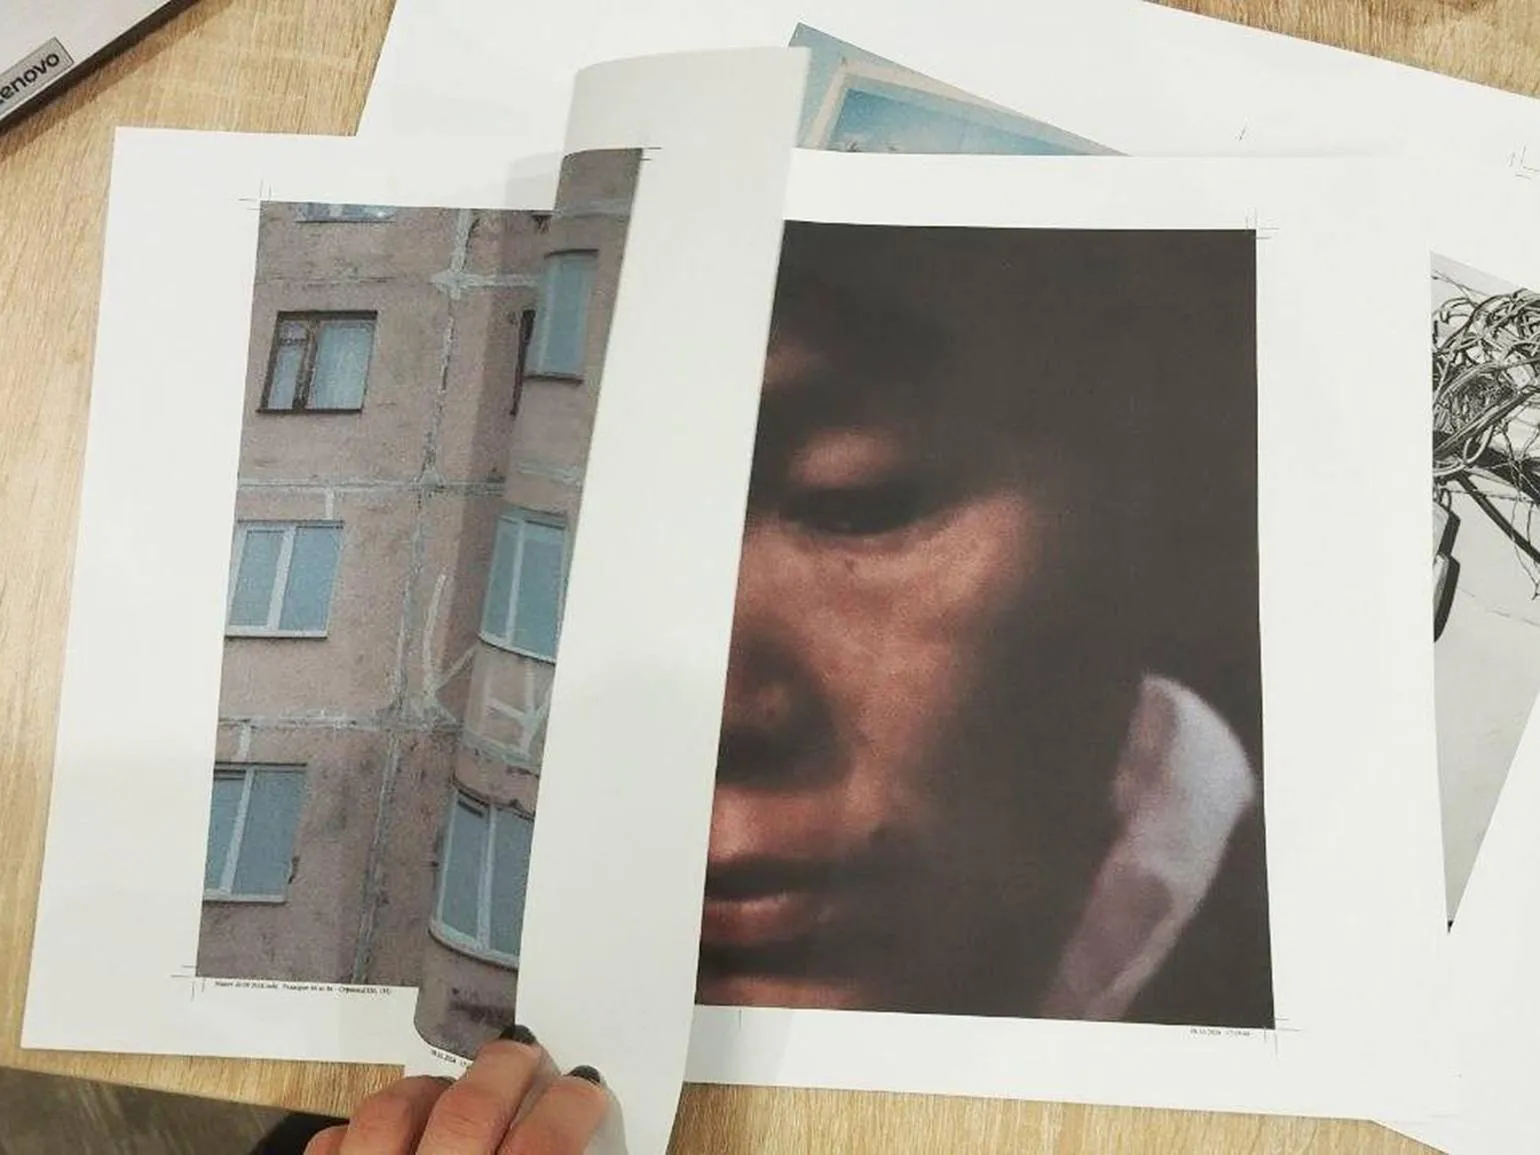
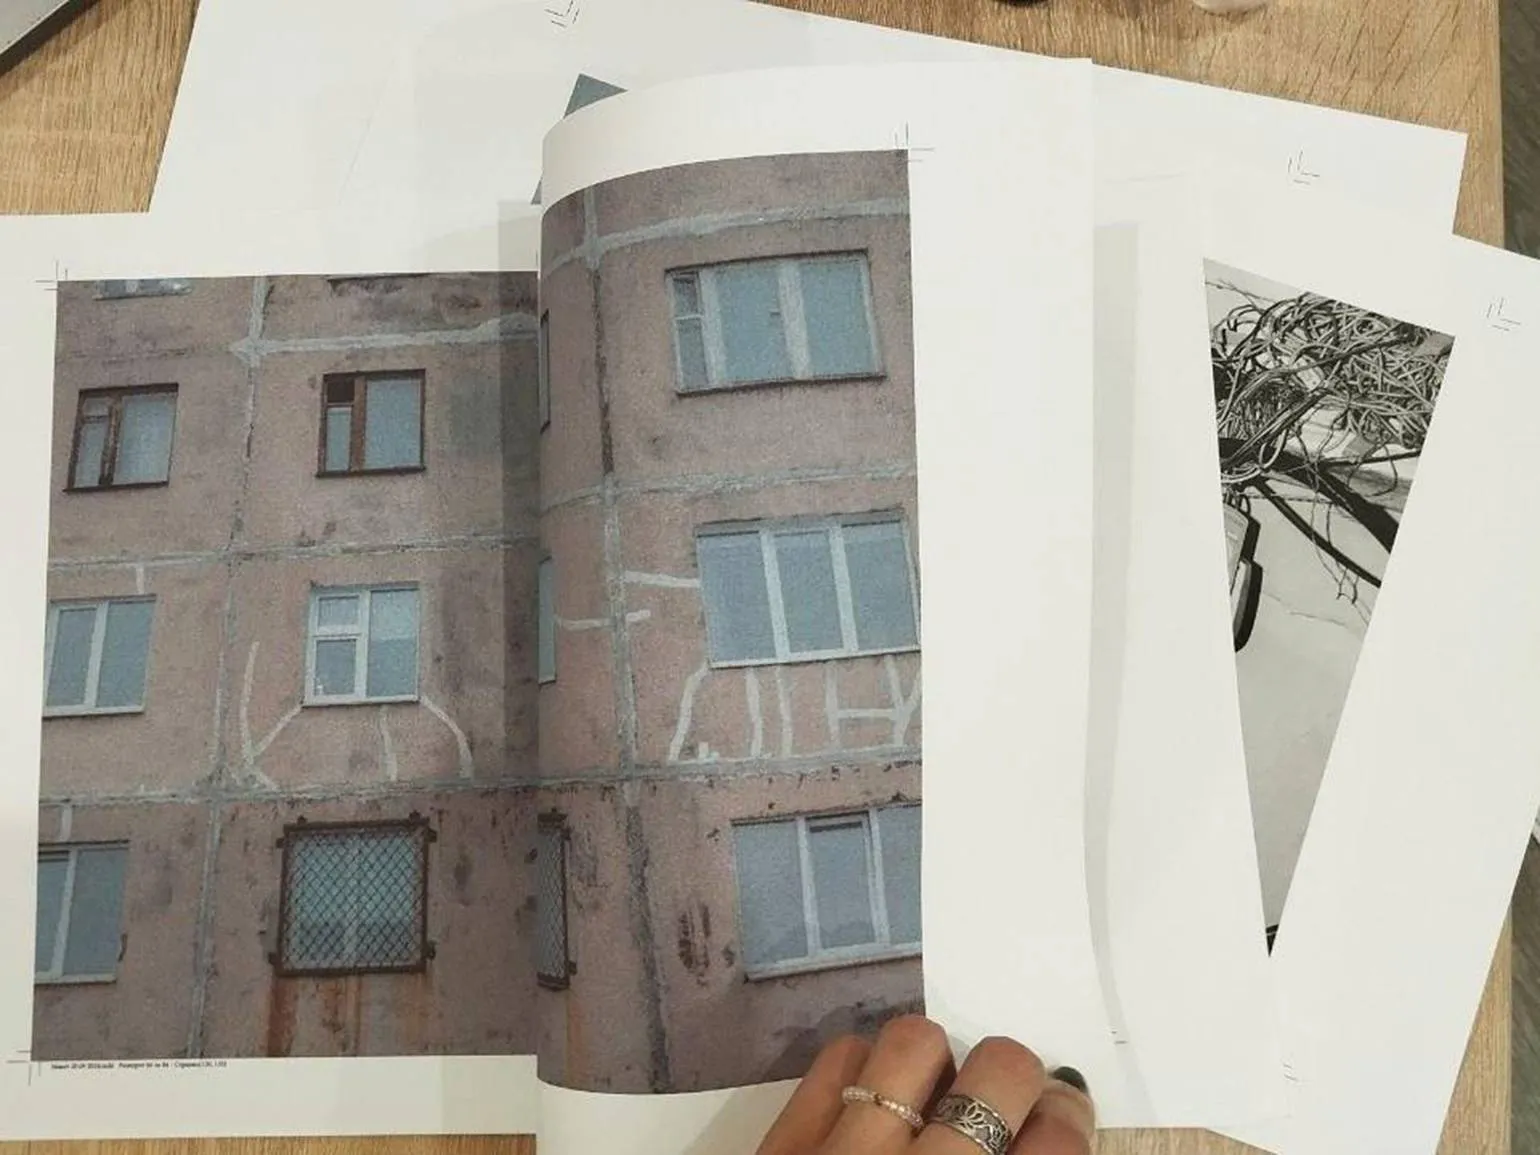
In Alec Soth's book "Sleeping by the Mississippi," the author masterfully uses adjacent shots to create an expressive montage that immerses the reader in the atmosphere and dynamics of the narrative. This approach allows for a deeper understanding of the interactions between the characters and their environment, and also highlights key plot points. Soth uses visual images and contrasts to create a multi-layered perception of the story, which makes his work unique in the genre of nonfiction.
Adjacent shots in the book's montage play a significant, although not the main, role. They do not contain striking events, but serve as important semantic links between the main images. These shots help create a holistic perception of the project, ensuring a smooth transition and logical sequence. Without adjacent shots, the composition loses its completeness, and the reader cannot fully understand the author's intent. Thus, adjacent frames are essential for the harmonious perception of the book and the enhancement of its semantic load.
Alec Soth's project focuses heavily on portraits of people and the interiors of their homes. However, the author also pays attention to liminal spaces and detached landscapes. Together, these photographs form an image of contemporary America and reflect the current state of our times. The central frames become iconic, while the remaining images complement them, creating a multi-layered visual narrative that immerses the viewer in a unique atmosphere.
For a deep understanding of the possibilities of editing in literature, it is useful to pay attention to auteur cinema. This art form combines visual and audio elements, allowing for a better understanding of how editing influences the perception of plot and emotion. Auteur cinema often experiments with form and structure, which opens up new horizons for analysis and interpretation.
We recommend familiarizing yourself with the works of film theorist Rudolf Arnheim, as well as the films and texts of directors Sergei Eisenstein and Andrei Tarkovsky. These authors made a significant contribution to the development of cinema, and their ideas will help you better understand the art of cinema.

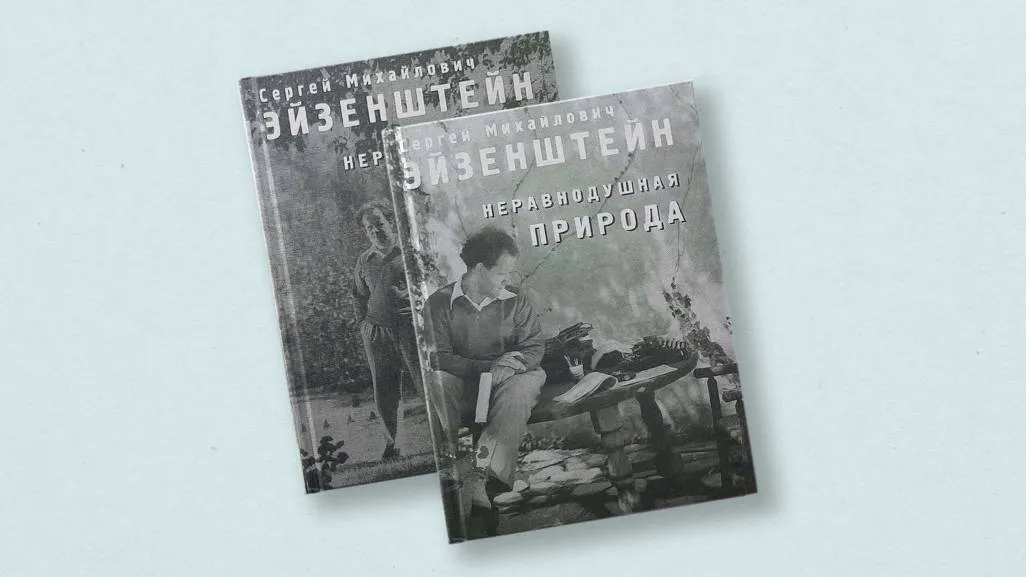
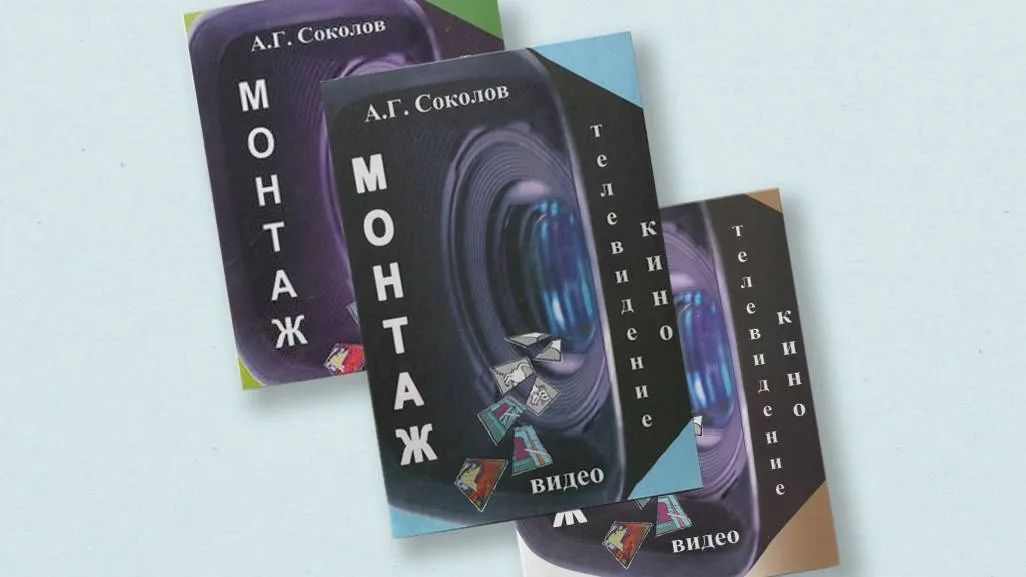

Photo editing is conveniently done in Adobe Bridge. This program allows you to easily organize sequences and quickly change photos as needed. There is also an alternative method: you can print out thumbnails of the photos and place them on the wall. This approach is often used by photographers, especially when working with a curator. This method allows you to visually assess the composition and interaction of images, simplifying the selection and adjustment process. "Live" editing is a more natural and realistic process. However, focusing too much on the same images can diminish their impact. I recommend performing this process not at home, but, for example, in a studio, or taking the photos after work. This will help keep your perspective fresh and improve the quality of your editing.
When sequencing your story, it's important to focus on the main idea. Determine where your narrative will begin and how it will end so that the viewer can grasp all the nuances and subtexts you want to convey. Proper storytelling will allow you to effectively convey your intentions and leave a deep impression on the audience.
When developing a project, be prepared for the fact that some key elements may prove ineffective and require elimination. The artist must be bold and reject images that do not fit the overall concept of the project. This will help maintain the integrity and harmony of the work, as well as increase its appeal to the audience.
Dummy book
Once the initial editing is complete, the stage of working with the book form begins. The dummy book, or rough draft of the book, represents the first attempt to put the concept into practice. This stage is important for assessing the structure, design, and overall feel of the material, which allows you to make any necessary changes and improvements before the final layout.
There are two main methods for creating the first draft of a book.
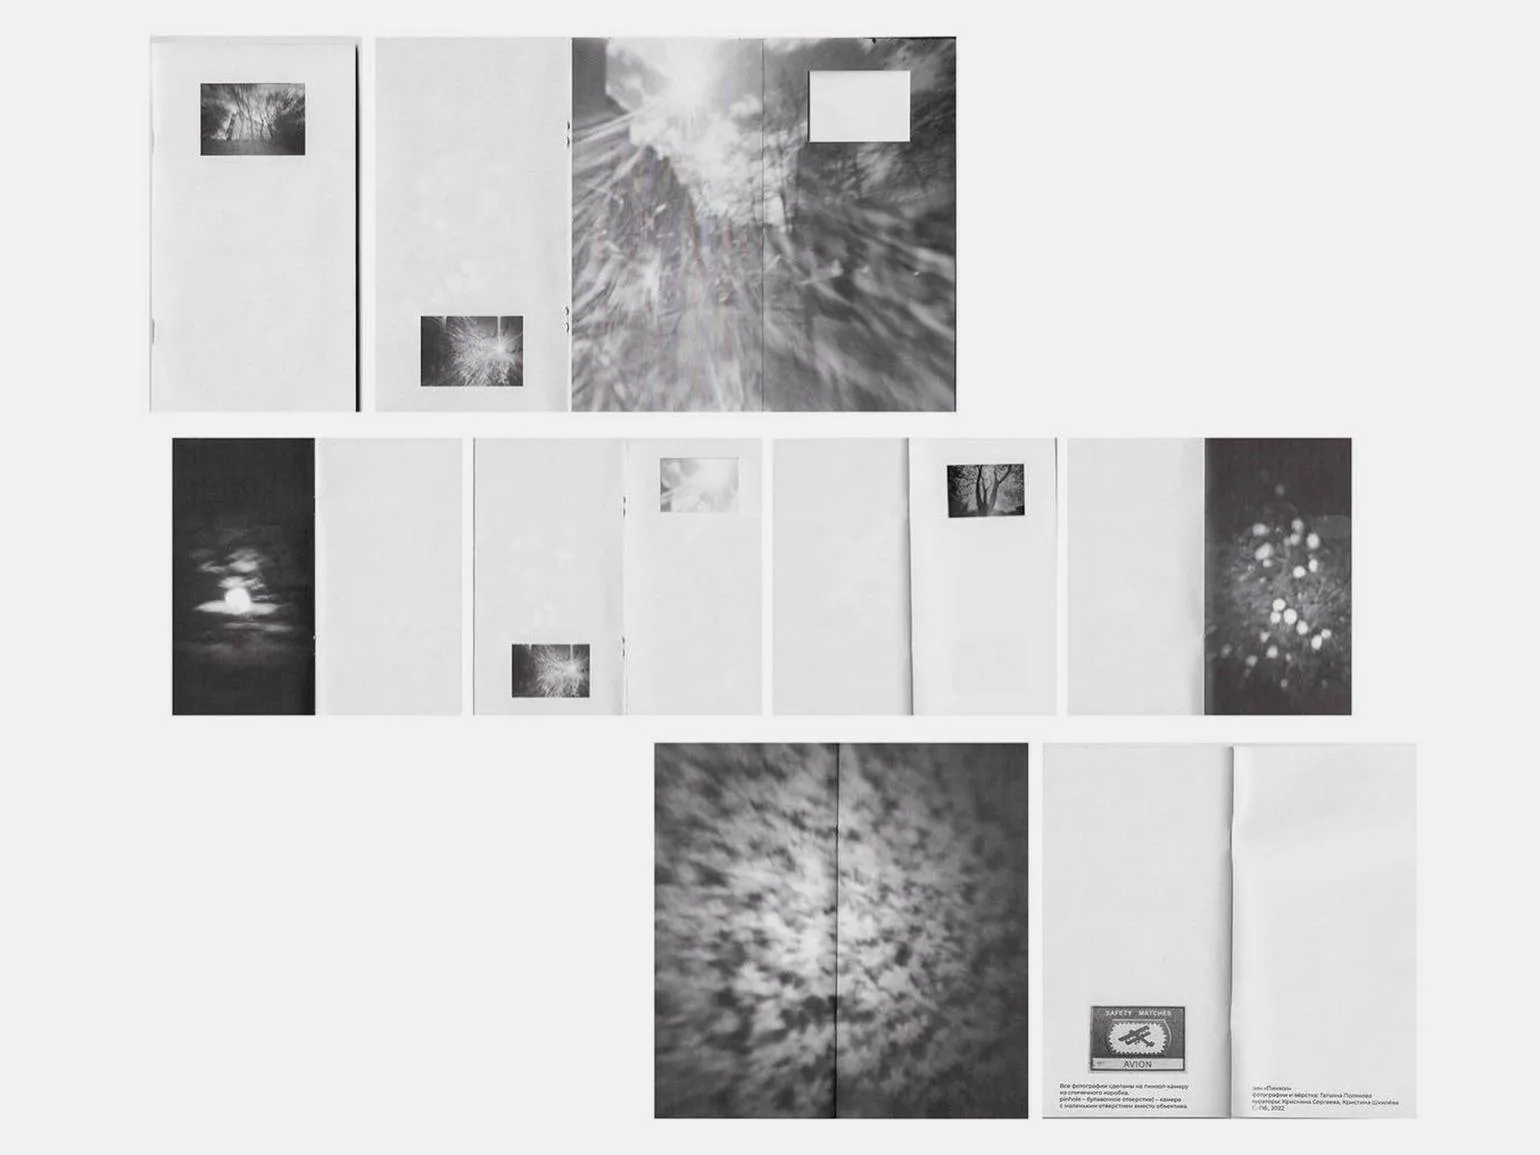
The first method is to create a simple notebook. Print the selected material on a regular black and white printer in a small format. Then collect several blank sheets and staple them together. In this notebook, you will be able to plan the sequence of photographs, noting which images need to be rearranged, as well as determining their sizes and location on the page. This approach allows you to visualize the final result and simplify the layout process.
It's important to explore different book formats to determine which one is most suitable for your work. This can be a classic vertical format, as well as more elongated or square options. Choosing the right book format can significantly improve the reader's experience and attract attention.
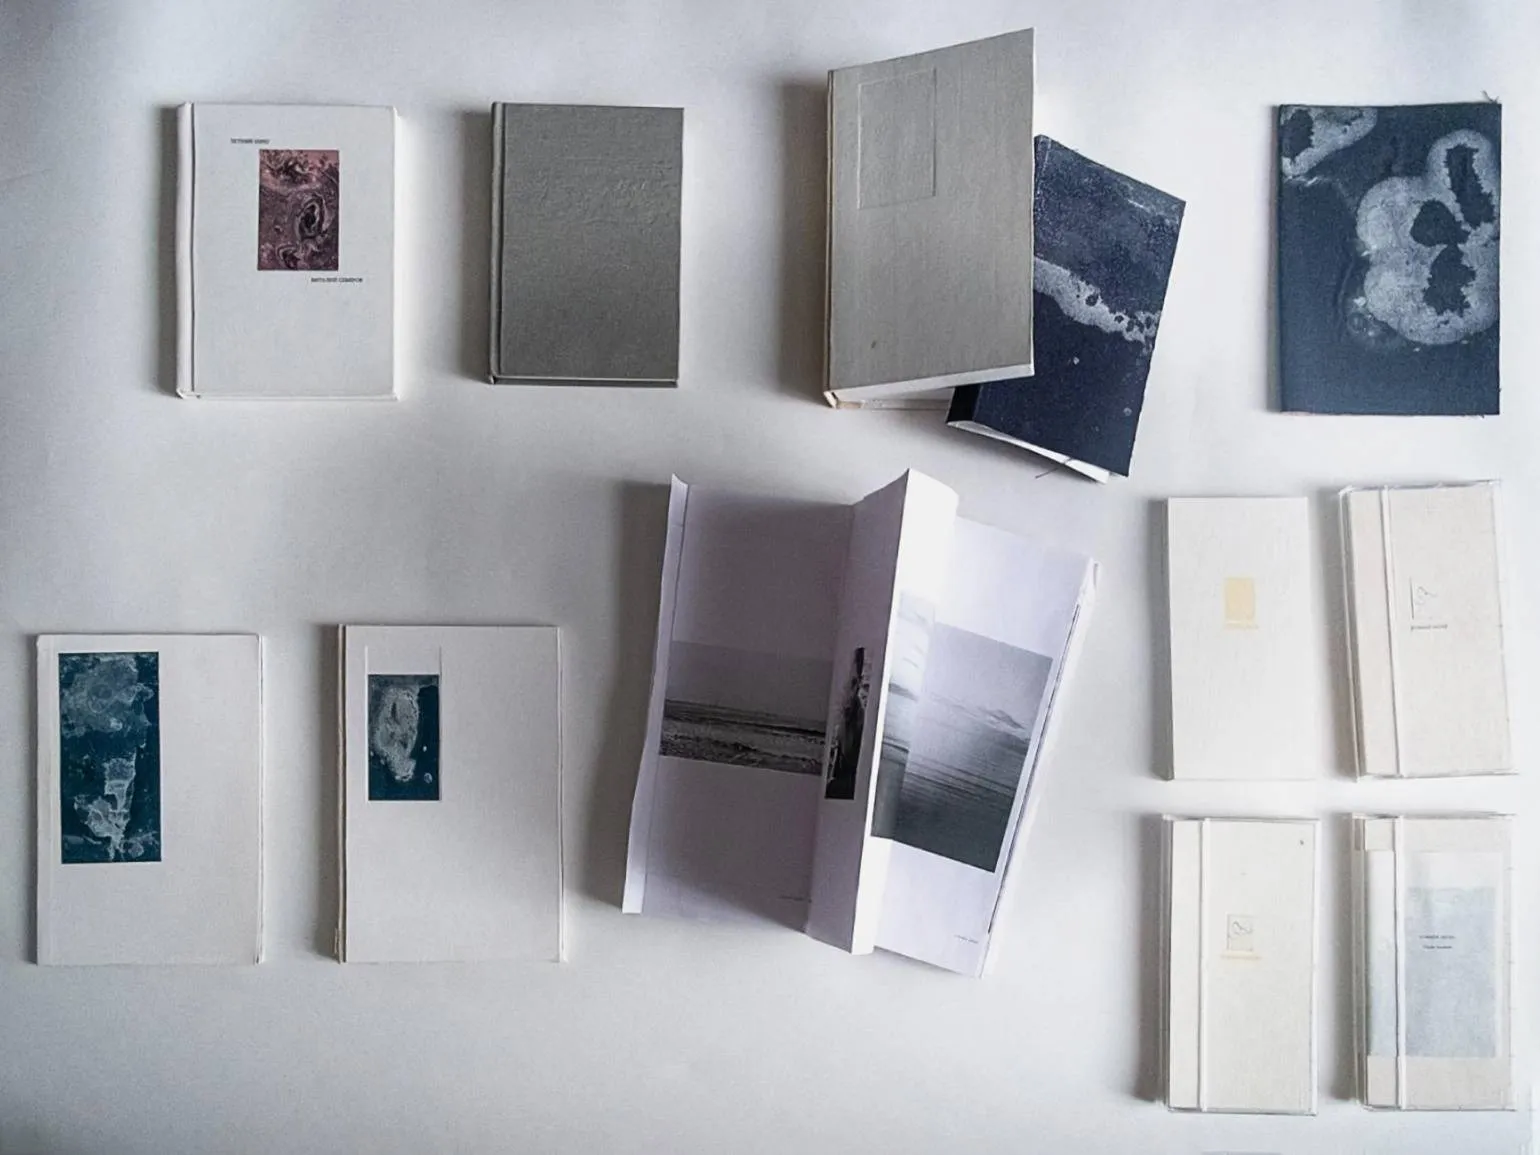
Don't rush into writing a book. High-quality works require time and careful craftsmanship. Artist Vitaly Severov, creator of the long-term project "Summer Shore," shares his experience: over several years, he experimented with numerous books, changing the sequence of photographs, sizes, and covers. Gradually, he came to understand which version most effectively conveyed his artistic vision. This process shows that creating a successful work requires time and deep analysis.
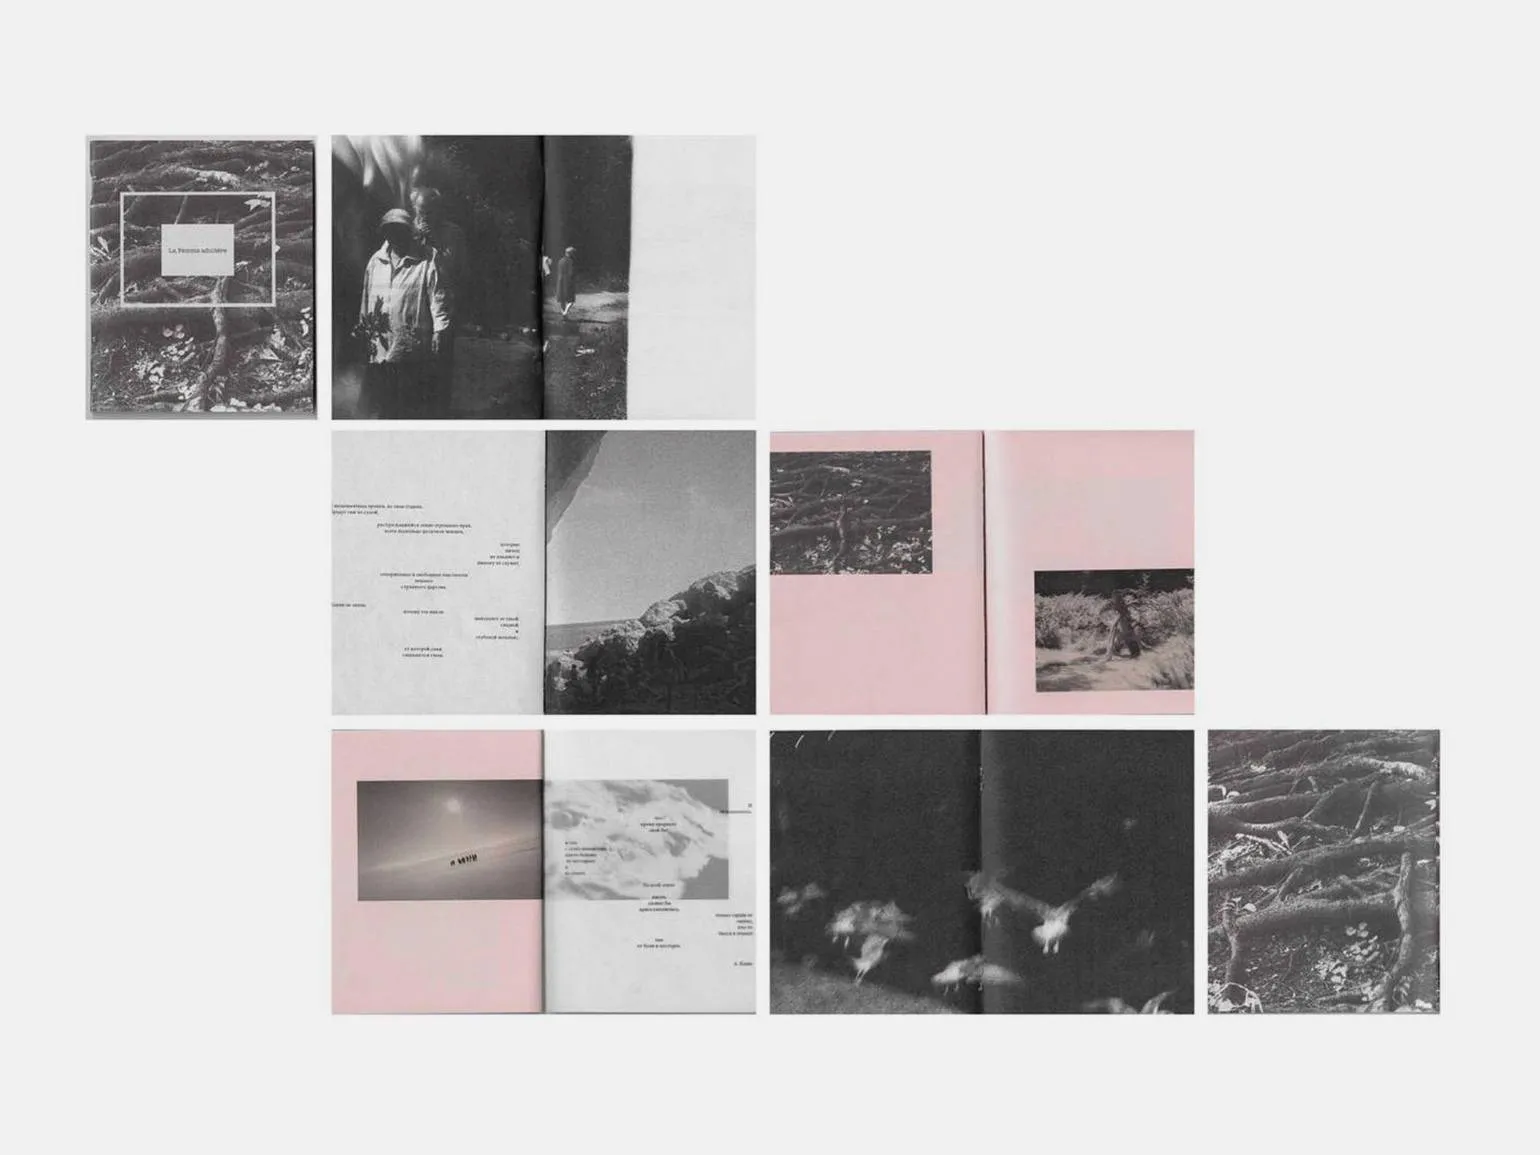
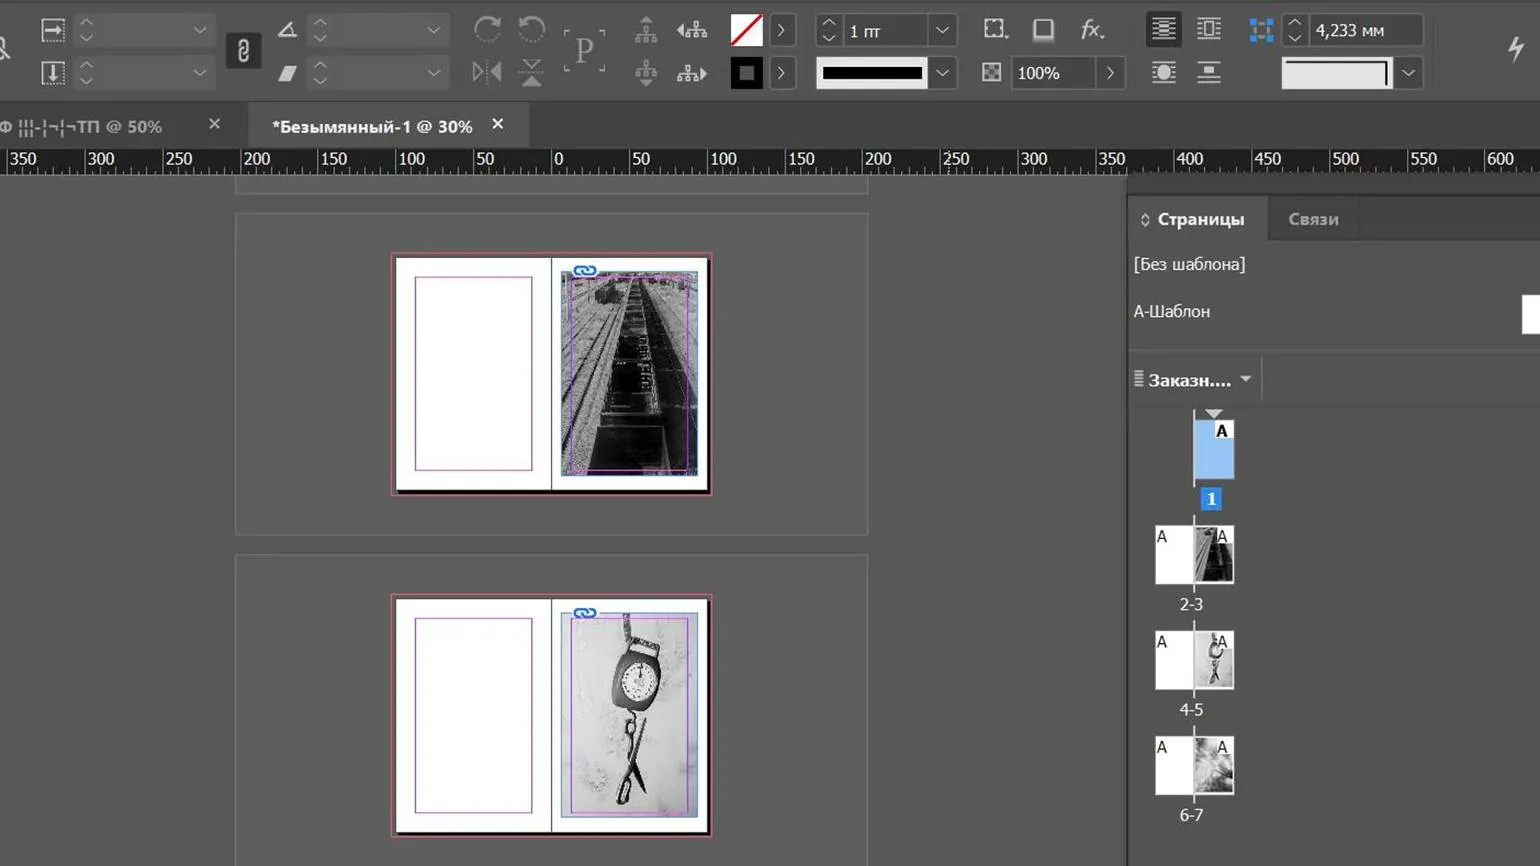
The second way to create a draft is to directly develop the book layout. This approach allows you to immediately visualize the structure and design of the future book. Creating a layout early in the process helps you better understand the finished product and allows you to make formatting and content changes before the final edit. This method is especially useful for authors striving for harmony between text and visual presentation, which ultimately improves reader experience.
If you plan to print the book yourself, we recommend using Adobe InDesign. This tool allows you to complete the entire process, from layout creation to preparing files for print. If you plan to print at a print shop, any program that supports page layouts, such as Figma, will do. Adobe InDesign delivers high-quality layout and convenient tools for working with text and images, making it an ideal choice for authors who want to control the process of preparing their book for print.
You begin the book creation process with the first page, which serves as the cover, gradually building it up spread by spread.
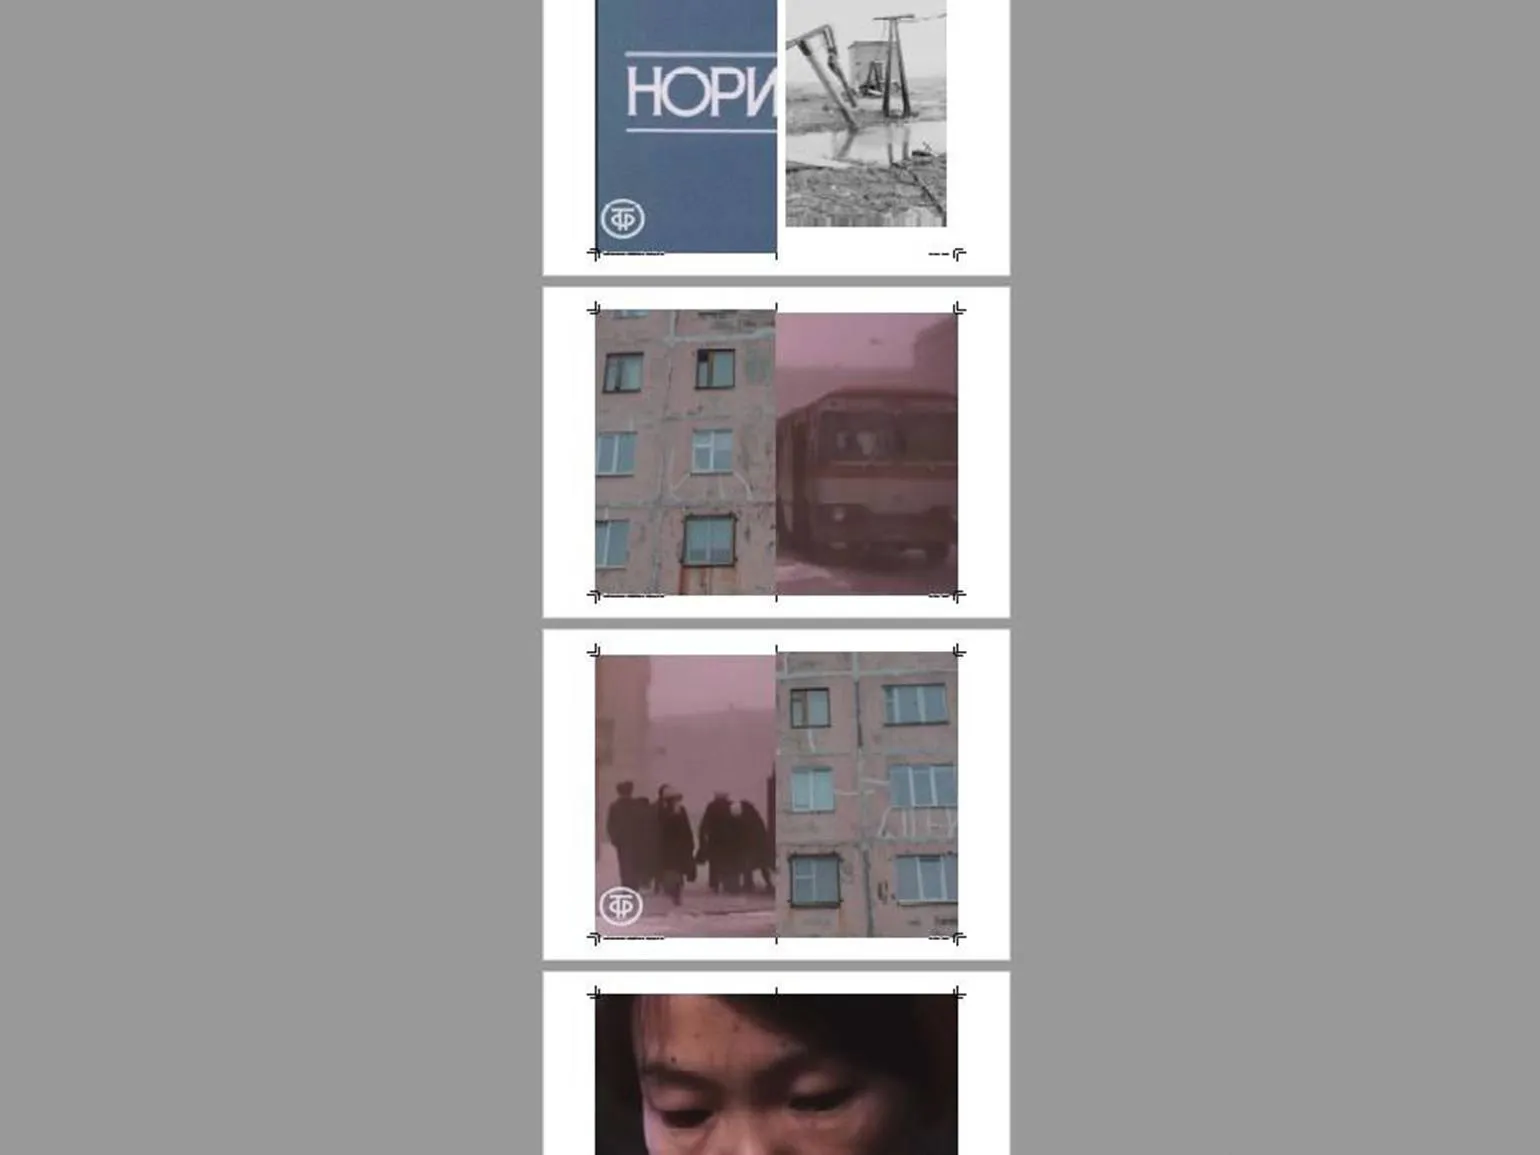
At this stage, you should add fold marks and crop marks to the layout, especially if you intend to create it yourself. Proper placement of these marks will help ensure accuracy during the printing and preparation of the book, which in turn will improve the quality of the final product.
A page or strip is one of the halves of a sheet of paper, A spread containing text or images on one side. In the context of printed matter, each page plays a vital role in conveying information and perceiving the content. Proper page layout can significantly impact reading comfort and text comprehension.
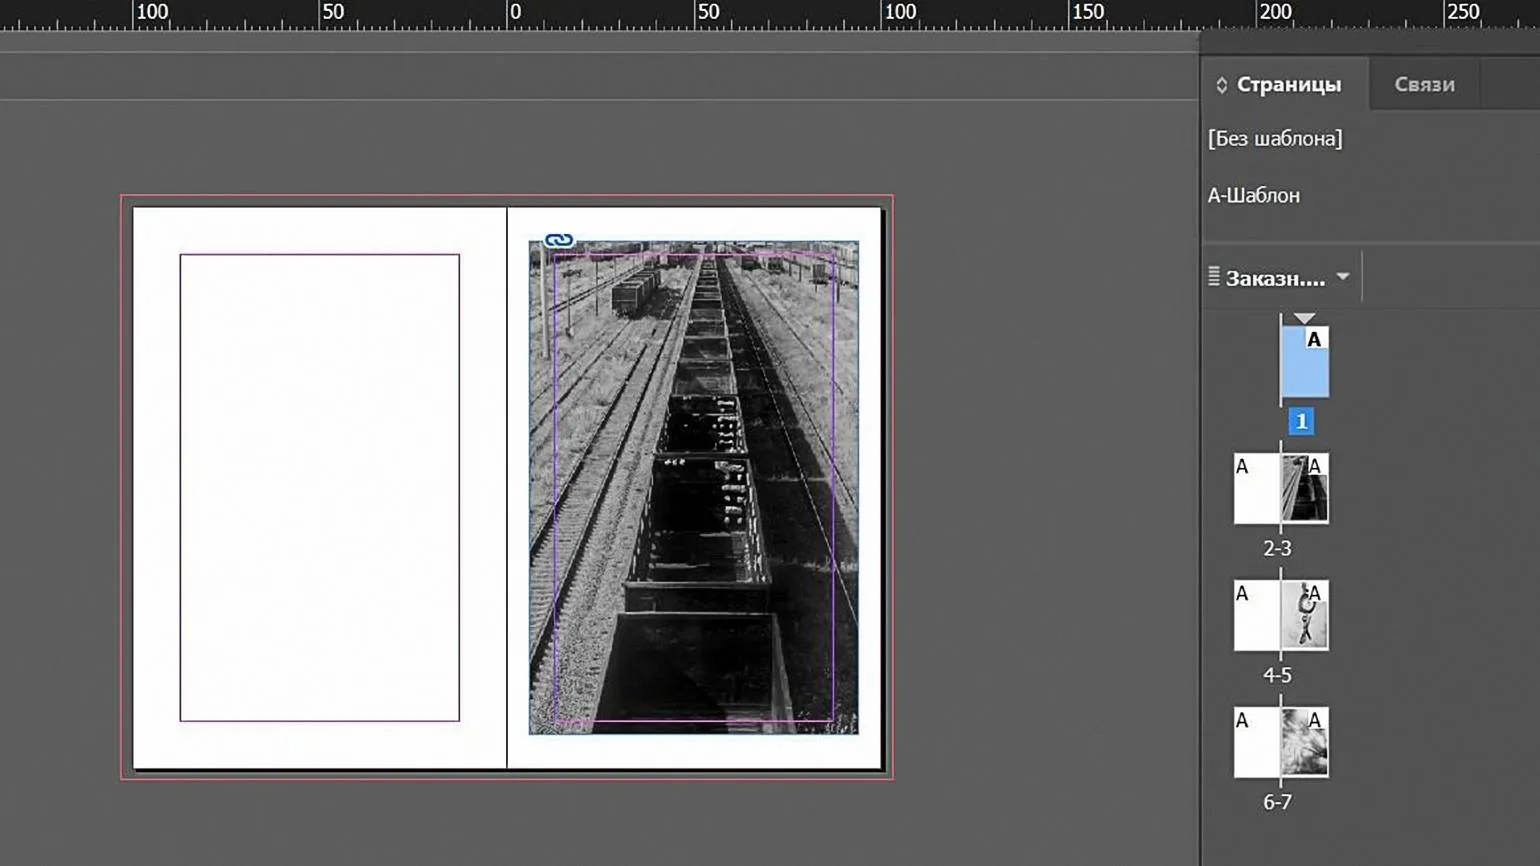
A spread is the two pages that become visible when a book is opened. This element plays a vital role in the perception of text and illustrations, as it allows the reader to see the information in context and creates a visual connection between the pages. Spreads can be used to create striking compositions, improve readability, and emphasize important details. Proper spread layout promotes deeper immersion in the book's content and enhances the overall reading experience.
Fold the sheet in half to obtain four pages. The first page will be the cover, the second and third form the spread, and the fourth page will be the back cover. This approach organizes information and visual elements, ensuring convenient perception. Proper page design promotes better interaction with the reader and increases the attractiveness of the material.
One printed sheet corresponds to four pages. Due to this, the total number of pages in the book must be a multiple of four, which means that possible page sizes include 4, 8, 12, 16, and so on. This rule is important to consider when developing a book layout to ensure the correct formation of the printed material and avoid layout problems.
Imposition is the process of placing pages on a printed sheet to optimize printing. During book assembly, the sheet is folded, and it is important to correctly position the impositions to obtain a product with the correct image placement and correct page numbers after the process is completed. Proper imposition ensures ease of reading and the visual integrity of the book, making it a key stage in the preparation of printed products.
Imposition, also known as imposition layout, is the final stage of book prepress preparation. If you plan to print the book yourself, we recommend using Adobe InDesign. This program automatically creates an imposition, which significantly simplifies the process. In printing houses, imposition layouts are usually developed by specialists, so we provide them with a layout in a page-by-page format. Proper preparation of the imposition layout is important to ensure high-quality printing and accurate reproduction of all book elements.
Imposition for a book is carried out taking into account a specific number of booklets. Notebooks are several printed sheets folded and sewn together. Most books are formed using notebooks. When folded together, the notebooks form the main body of the book, providing structure and consistency. Properly calculating the imposition and the number of notebooks are critical to high-quality printing and book design. Let's imagine you've prepared a book layout with 120 pages. Dividing this number by four yields 30 sheets of paper needed for one book. Next, we need to determine how many notebooks can be created from these sheets. Let's assume that one notebook will consist of three sheets, which will simplify the process of hand-stitching the book. This will result in 10 notebooks. These parameters must be taken into account when creating the imposition layout in a graphics editor. If you're creating a zine from a single printed sheet, this process is called "booklet imposition." This approach allows for a compact and efficient organization of content using a minimal amount of paper, which is especially important for environmentally friendly production. The imposition under the brochure ensures the correct placement of pages during printing and subsequent folding, which makes it an optimal choice for creating zines and small publications.
Printing
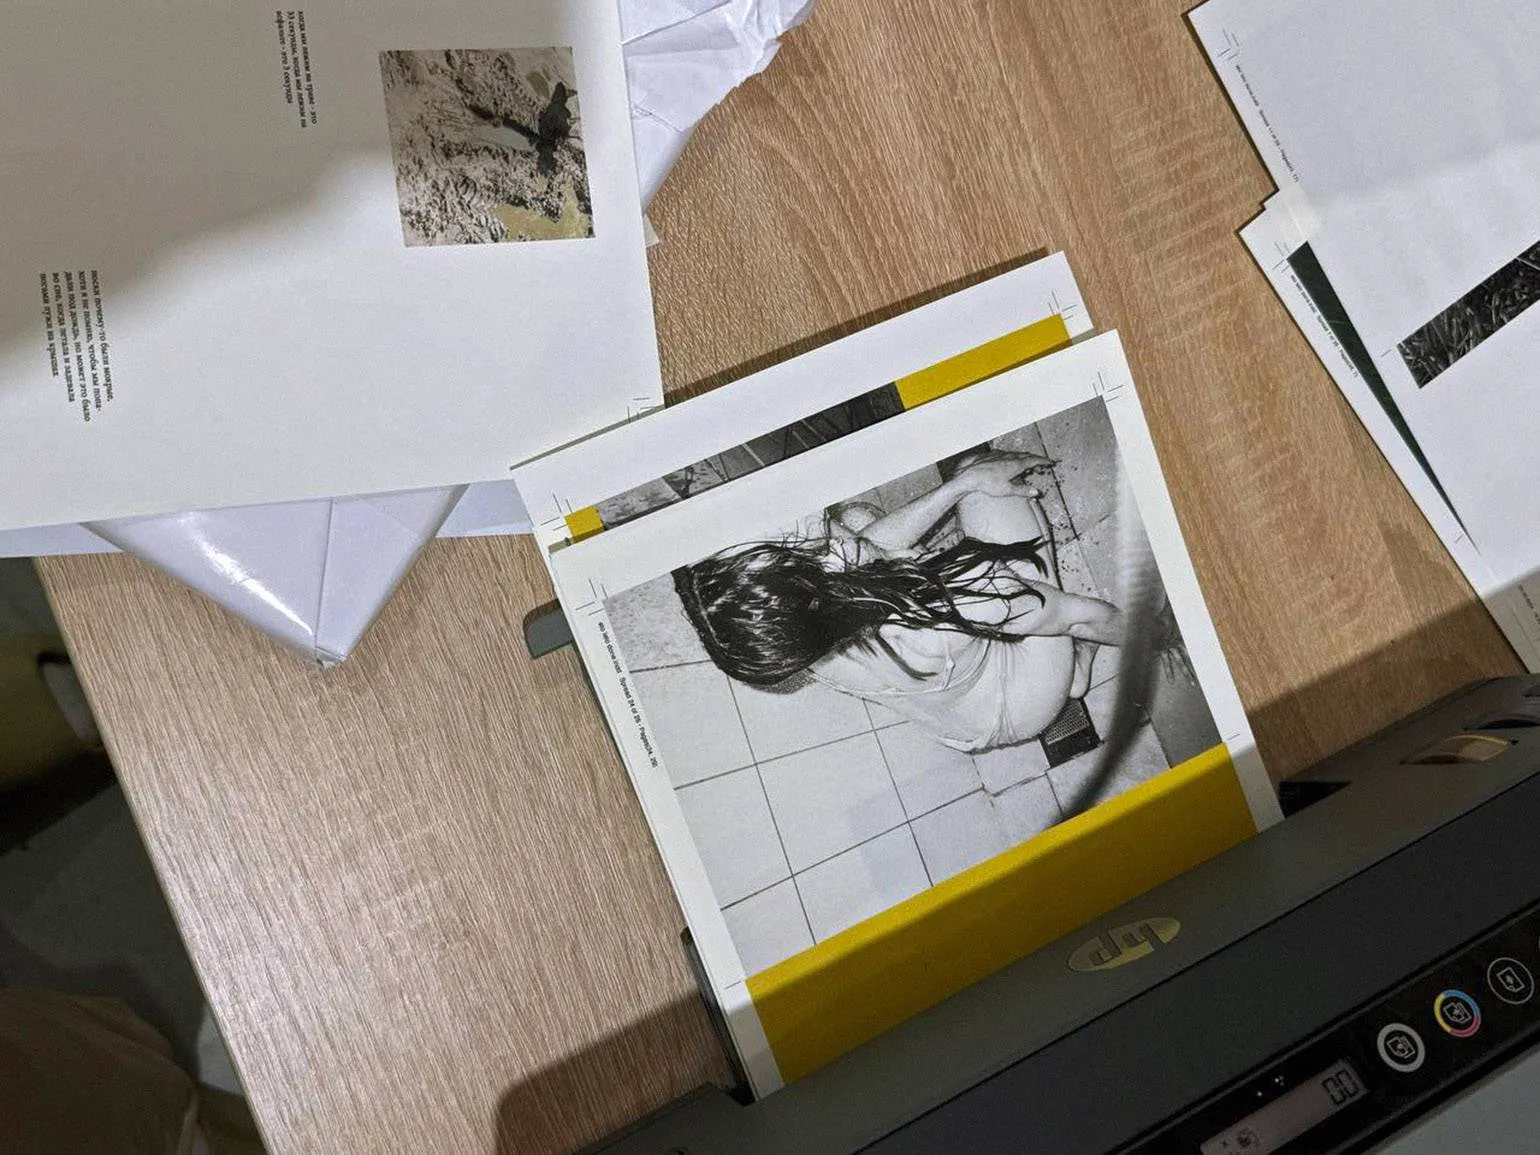
After completing the first layout, even if it was created in a hurry, the author decides on where to print their work: at home or at a print shop. The choice of printing location has a significant impact on the quality of the final product and the ease of the process. Printing at home may be a more economical option, but a print shop offers professional equipment and experience, which can improve the appearance and durability of the book.
Advantages
The advantages of using this product are its high efficiency and reliability. It delivers excellent results and meets user needs. The affordable price makes it an attractive choice for a wide audience. In addition, the product is easy to use, which eliminates the need for unnecessary time on training. Reliable support from the manufacturer guarantees a prompt resolution of any issues that arise. Thus, the advantages of this product make it the optimal choice for those who value quality and convenience.
The main advantage of working with a printing house is that their professionals will provide you with the necessary printing knowledge and will handle all stages of production. This will allow you to focus on other important aspects of your business, confident that printing will be completed efficiently and on time. Printing specialists will provide consultations on the selection of materials, formats, and printing technologies, significantly simplifying the process of bringing your ideas to life.
Printing houses offer a wide range of designer papers of various weights. It is extremely important to test the layout before sending it to print, as the same images can be perceived significantly differently depending on the selected paper. The correct choice of paper affects the print quality and the final appearance of the finished product. To achieve the best result, it is recommended to first evaluate how the images will appear on different types of paper.
The third significant advantage of a printing house is its extensive technical capabilities. This is especially true for book covers: printing houses offer screen printing, UV printing, and embossing. These services allow you to create unique and attractive covers that make your book stand out from the crowd. Thanks to a variety of technologies, printing houses can meet any customer requirements and help them realize their creative ideas.
A Telegram channel for photography enthusiasts. Here you will find inspiration, tips, and ideas for creating unique photos. Join the community where shooting techniques, photo processing, and choosing equipment are discussed. Receive the latest news from the world of photography and share your experiences with other participants. This channel will be your guide on your path to mastery in photography.
If you want to learn about the diversity of literature, subscribe to our resource. We present the work of talented Russian authors, follow global competitions, and share useful creative tips from practitioners. Stay up-to-date with current literary news and be inspired to create your own work.
Cons can significantly impact the perception of a product or service. Key drawbacks often include high cost, limited features, insufficient user support, and potential quality issues. A high price can turn off potential customers, especially if there are more affordable alternatives on the market. Limited features can limit use, which can also negatively impact the user experience. Insufficient user support can lead to unresolved issues and dissatisfaction, which ultimately affects the brand's reputation. Quality issues, such as unstable operation or poor durability, can lead to additional costs and negative reviews. Given these disadvantages, it is important to carefully evaluate all aspects before making a purchasing decision.
The main disadvantage of printing services is that they require a significantly higher budget compared to home printing.
Not all printing operators have a full understanding of the concept of an author's photo book and the significance of its details. Therefore, the author should provide clear technical specifications and, if possible, demonstrate a sample of the book layout. This will help avoid misunderstandings and ensure the precise execution of the plan.
For orders of up to 300 copies, only laser printing is available, which will give your works a glossy appearance. For some, this may be an advantage, emphasizing the quality and presentability of the publication.
Where to print documents and materials?
There are many places where you can get printing done. If you need to print documents, you can use the services of professional printing houses that offer high-quality printing on a variety of materials. Printing services are also available in offices and copy centers, where you can quickly print files.
Don't forget about home printing. If you have a printer, you can print the necessary documents yourself, which is convenient and cost-effective. If necessary, you can turn to online stores that offer printing and delivery services for finished materials.
The choice of printing location depends on your needs, the volume of work, and the desired quality. Consider the order fulfillment time and service cost to make the best choice for your needs.
In Moscow and St. Petersburg, we recommend trusted printing houses that provide high-quality printing and assembly. These include Nemakulatura printing houses in Moscow, as well as Lissa and NP-Print in St. Petersburg. Don't forget about remote printing, which can significantly simplify the process. In other cities of Russia the situation with printing houses may be less favorable, but with desire and the right approach, you can find the optimal solution for printing.
Of course, I will help you with text revision. Please provide the text itself that needs correction.
The typography micro-dictionary is a useful tool that helps you understand the basic terms and concepts in this field. Typography includes not only the choice of fonts, but also their placement, size, spacing between letters and lines, as well as other important aspects that affect the perception of the text.
Key terms worth knowing include "font", "font size", "leader", "indent", "line spacing", and "line width". Understanding these concepts allows you to create more harmonious and readable text materials. For example, the correct choice of font size can significantly affect readability, and correct line spacing helps avoid visual overload.
It is also important to consider the context of using typographic elements. Different types of materials, such as print publications, web design, or advertising materials, require different approaches to typography. The ability to adapt typographic solutions to specific tasks improves the quality of content and makes it more appealing to the audience.
Using a microdictionary for working with typography will not only improve your skills but also create more professional-looking content that will meet modern standards.
If you plan to print documents and photos at home, it is best to start with a mid-range printer from reputable manufacturers such as Epson or Canon. These brands offer reliable and high-quality devices that are great for home use, providing a good balance between price and functionality. When choosing a printer, pay attention to technical specifications such as print speed, image quality, and compatibility with different paper types. This will help you make the right choice according to your needs.
Of course, I'm ready to help with text editing. Please provide the source text you wish to rework.
If you plan to print books at home, we recommend choosing a printer that uses water-soluble inks. These inks are completely absorbed into the paper, preventing marks from appearing on your hands. For creating photographic prints, it is better to use printers with pigment inks, as they ensure image durability and resistance to fading in the sun. Choosing the right printer is important for print quality and ease of use.
Printing on ordinary office paper does not always ensure high image quality. To achieve a professional result, it is better to use specialized paper, which is available in stores in a variety of shades, weights, and textures. Many of these stores offer samples, allowing you to choose the best option for your needs.
When printing images on paper with a density of less than 100 g/m², the paper may curl. To avoid this, we recommend using paper with a density of 100 to 180 g/m² for the main body of the book. For softcover printing, paper weights of 200–300 g/m² are ideal. This will ensure not only high print quality but also page durability.
Laser and inkjet printers require different types of paper. It is important to carefully examine paper specifications before purchasing to ensure optimal print quality and avoid printer problems. Choosing the right paper improves color reproduction, image clarity, and print durability.
When choosing paper, sheet size is critical. In the printing industry, the standard sheet size is 70 × 100 cm. Therefore, it is recommended to discuss with the seller in advance the possibility of cutting the paper to a format compatible with your printer. Choosing the right paper and its size will help achieve the best printing results.
We present to you the names of designer papers that we prefer and actively use: Pergraphica, Color Plan, Colorlab, Materica, Palatina, Arena, HPG NATURE, and Verona. These brands are distinguished by high quality and a variety of textures, which allows you to create unique and stylish products.
We recommend trusted stores: Dubl V, Bereg, and Europapir. These stores have established themselves as reliable suppliers of high-quality products. By choosing them, you can be sure of a high level of service and a wide range of products.
Assembling a Book
You've decided to create a book yourself. It's time to acquire the necessary tools for this process.
A cutting mat is an essential tool for creating books. We recommend purchasing an A2 or larger mat, which will ensure convenience and comfort while working on your project. A large mat allows you to conveniently place all the necessary materials and also facilitates the book assembly process, ensuring precise and accurate cutting. Choosing the optimal mat will improve the quality of your work and make the creative process more enjoyable.
A cutter, also known as a stationery knife, is an indispensable tool in the office and at home. It should be made of high-quality metal to ensure durability and reliability. It's important that the cutter fits comfortably in your hand and isn't too heavy or light, allowing for long periods of use without fatigue. A key aspect is a secure blade lock; it should fit snugly in the sheath without any play. A convenient blade tightening system ensures safety during operation and high cutting efficiency. Choosing a utility knife with these factors in mind will improve comfort and the quality of your tasks, whether cutting paper, cardboard, or other materials. Using budget-friendly plastic knives can be dangerous for your hands. We recommend considering knives from Olfa and Brauberg, which ensure high quality and safety during operation. Choosing a reliable tool will help prevent injury and improve task efficiency. A creasing stick is a specialized tool used in the creasing process. Creasing is a method of creating embossed lines on paper, allowing for neat folds. This process is performed using a ruler and a creasing tool that creates grooves in the paper's surface. The grooves created by creasing facilitate subsequent folding of the sheets, which is especially important when producing booklets, postcards, and other printed materials. Using a creasing stick ensures high-quality folds and improves the appearance of the finished product.
We recommend using two different types of skewers for best results. A traditional creasing skewer, available at any office supply store, is suitable for ironing page folds. For actual page creasing, it's best to use a metal sculpting tool or a knitting needle. Their diameter ensures neat folds on heavy paper. Alternatively, you can use a ballpoint pen or a sushi stick, but metal tools are still preferable for high-quality work.
For bookmaking, it's recommended to use only a metal ruler. Wooden or plastic rulers are not suitable, as the sharp blade can damage them, potentially causing injury. Choose a sturdy metal ruler at least 40 cm long to ensure accuracy and safety when working.
To prevent the metal ruler from sliding on smooth paper, it is recommended to tape it with masking tape. This simple life hack helps ensure more precise and accurate lines when drawing. Using masking tape creates friction, preventing the ruler from moving and making the process of drawing or measuring more convenient and efficient.
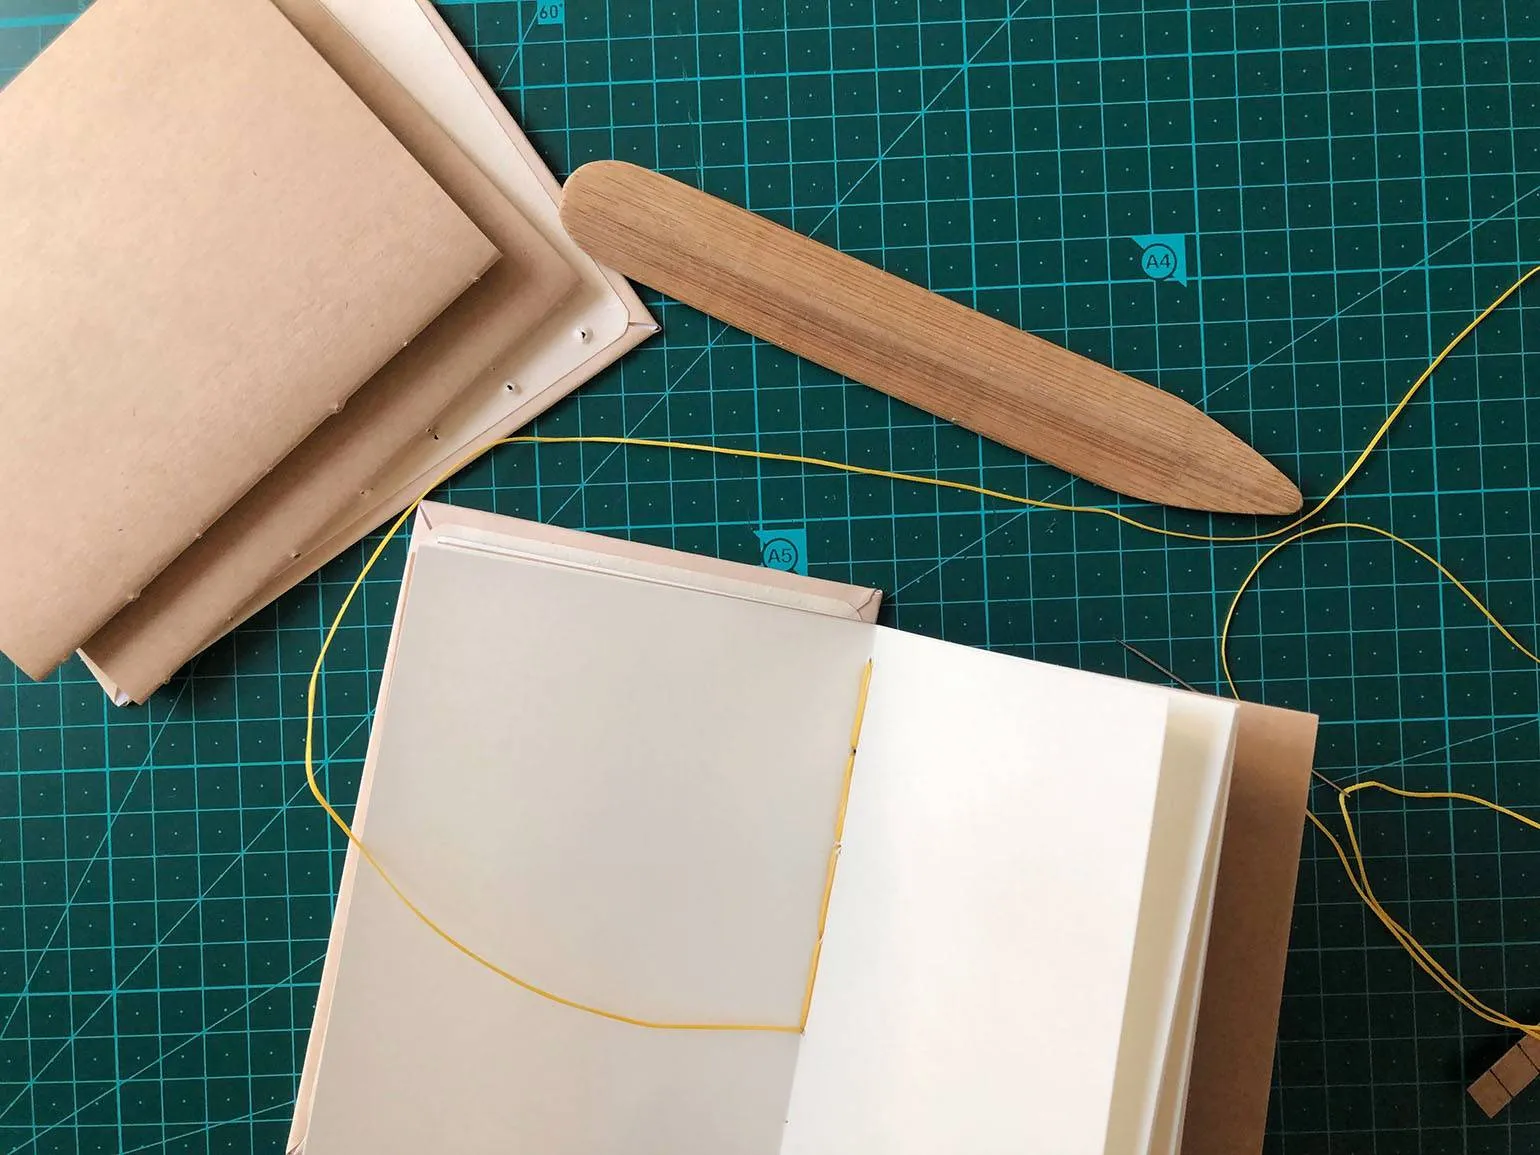
To create a book block, it's best to use an awl, rounded needles specially designed for stitching documents, and embroidery floss. These tools ensure high-quality and accurate page assembly, which helps achieve durability and aesthetics in the finished product.
Glue is necessary for gluing the main block of the book. To ensure the longevity of your book, we recommend using typographer's glue, which can be purchased online or requested from a print shop. Alternatively, Moment Crystal glue is strong and durable, and does not dry out over time. Regular PVA glue is not suitable for this purpose, as it quickly yellows, dries out, and can damage printed photographs. Choosing a quality adhesive is an essential step in creating a long-lasting book.
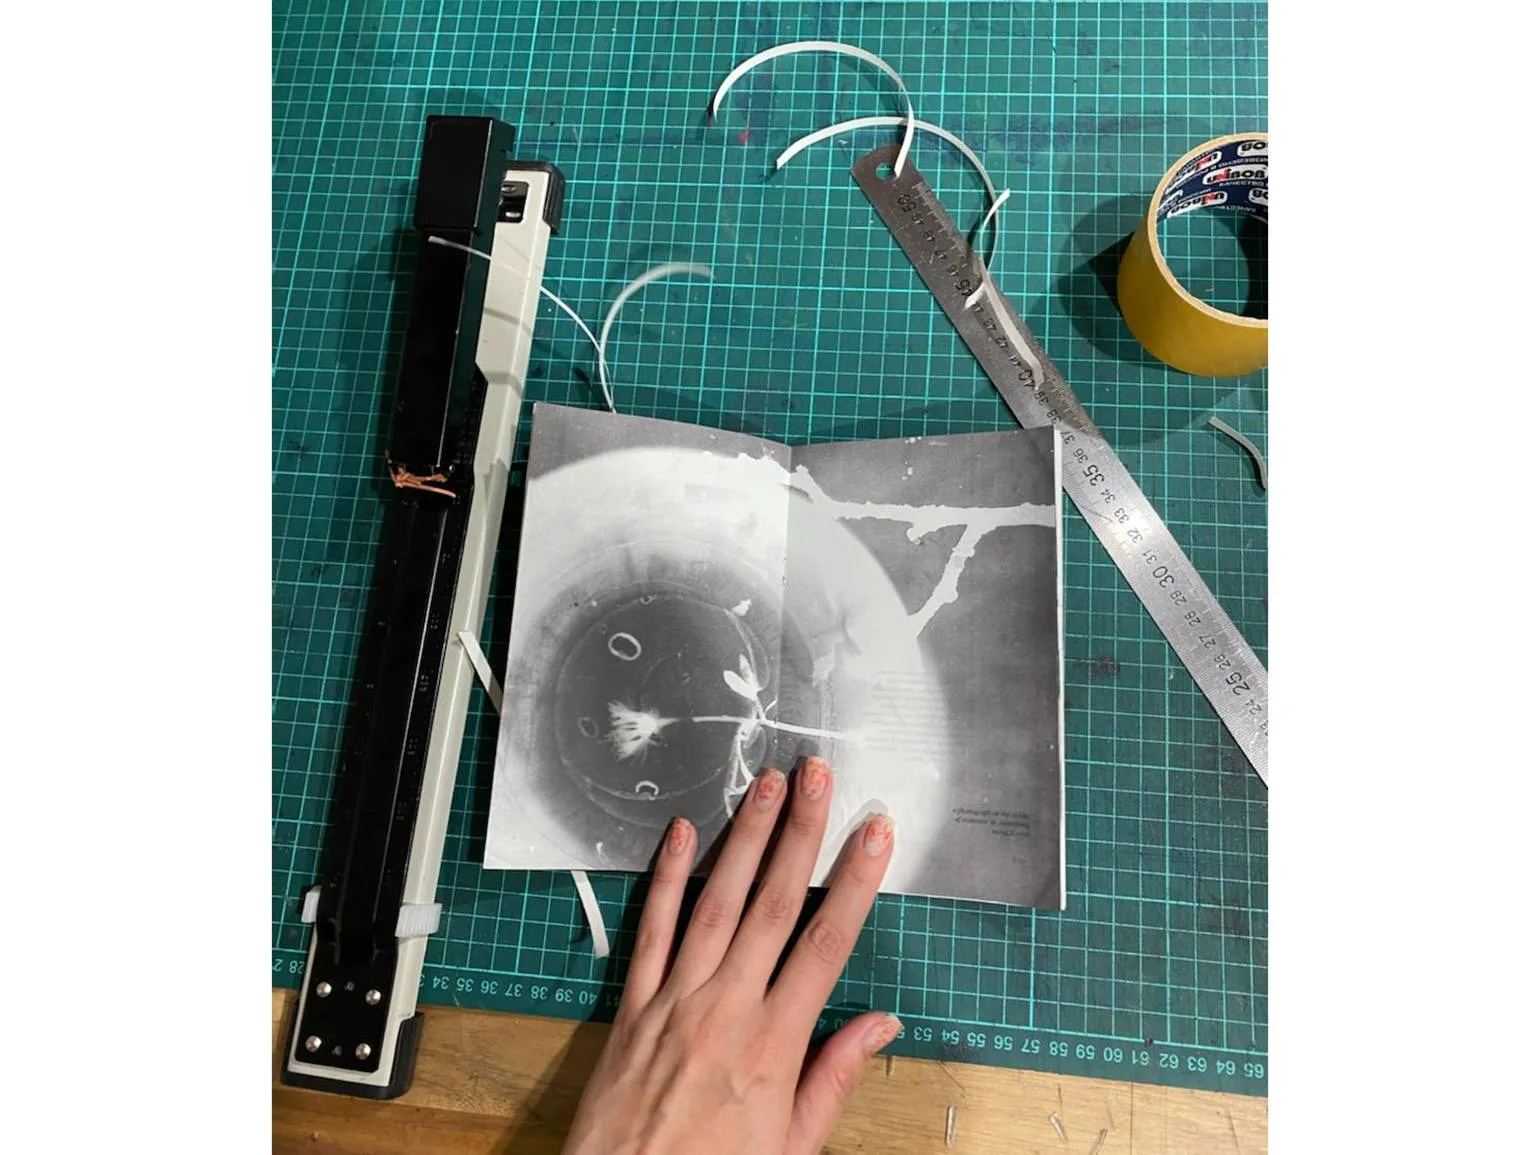
If you have a thin zine, you can staple its pages to the cover using a stapler or a specialized tool called a bookbinding maker. This method is especially suitable for creating larger books. Using a stapler or bookbinding maker securely connects pages, ensuring durability and a neat appearance for your publication. Follow these simple steps for best results: carefully align the pages, then pin them in place to prevent shifting. This approach will help you create a high-quality, professional-looking zine that readers will love.
Fold marks are created during the imposition process. To create a neat groove on the printed sheets, use a ruler and a straightedge or a knitting needle. This will help prevent damage when folding thick sheets. Fold the sheets to form notebooks, and score along the fold line of each notebook using a scoring tool. This approach will ensure crisp and even folds, improving the overall appearance of the finished product.
Fold the notebooks in the desired order, forming the main body of the book. To flatten the notebooks, place them under a press overnight, using, for example, a stack of books. This will improve the quality of our product and prepare it for further processing.
Rework the text to meet SEO requirements, while staying on-topic and without adding unnecessary content. Avoid using emojis and unnecessary symbols. Do not use sections with numbers or symbols, just provide plain text.
Read also:
References for Photographers: Where to Find and How to Use Them Effectively
Finding references is an important part of a photographer's work. They help shape their style, find inspiration, and set the tone for new projects. But where can you find high-quality references and how do you work with them effectively?
First of all, it's worth paying attention to specialized platforms for photographers. Sites like Pinterest, Unsplash, and Behance offer huge collections of images that can serve as a source of ideas and visual solutions. It's also helpful to follow the work of other photographers on social media, such as Instagram, where you can discover current trends and unique styles.
It's important not just to copy other people's work but to analyze it. Study composition, lighting, and color schemes. This will help you develop your own style and improve your technical skills. When using reference images, be mindful of copyright and always cite the source if you're inspired by someone else's work.
Furthermore, creating your own reference bank can greatly simplify the work process. Collect images you like in separate albums or folders. This will allow you to quickly find the right visual solutions in the future and speed up the process of preparing for photo shoots.
Using reference images correctly can not only improve the quality of your photographs but also expand your creative horizons. Don't be afraid to experiment and integrate different elements into your work to create a unique visual language.
Using an awl, make holes for the thread along the fold line of each notebook. It's important that the hole pattern is the same on all notebooks. Thread a half-moon needle and begin sewing the first notebook using the same technique as when working with fabric. Start at the bottom and work your way up. Once you reach the fold line, do not cut the thread. Place the first notebook on top of the second and stitch it, now moving from top to bottom. Repeat this process for all the remaining notebooks, ensuring neatness and uniformity in each of them. This method of fastening the notebooks ensures their durability and ease of use.
It is important to remember that trimming the sheets is not advisable at this stage. Maintaining the integrity of the sheets is critical for the subsequent process. Make sure you do not make any changes to the sheet sizes, as this may negatively affect the final result. Proper handling of the sheets at this stage will help avoid potential problems in the future and ensure high-quality execution of all subsequent stages of the work.
Apply glue with a brush to the spine of the book.
Some authors skip the gluing stage, which can lead to negative consequences for the quality of the book. As the organizer of three photobook festivals, I can say that the lack of gluing makes the book unfinished and often creates an impression of carelessness. Proper organization and careful attention to detail, including gluing, are key to creating a professional and attractive publication. This not only improves the appearance but also enhances the overall perception of the work.
Place the glued block under a press and allow it to dry. This will ensure a secure connection and improve the strength of the structure.
A cutting knife is used to trim the stitched and glued block. The pages are trimmed to the required size after the printing, stitching, and gluing stages to ensure a perfect match between them. This ensures a neat and professional appearance of the book. Proper page trimming is important to maintain the quality and aesthetics of the printed product.
The block can be sent to a printer for trimming, as many print shops offer this service.
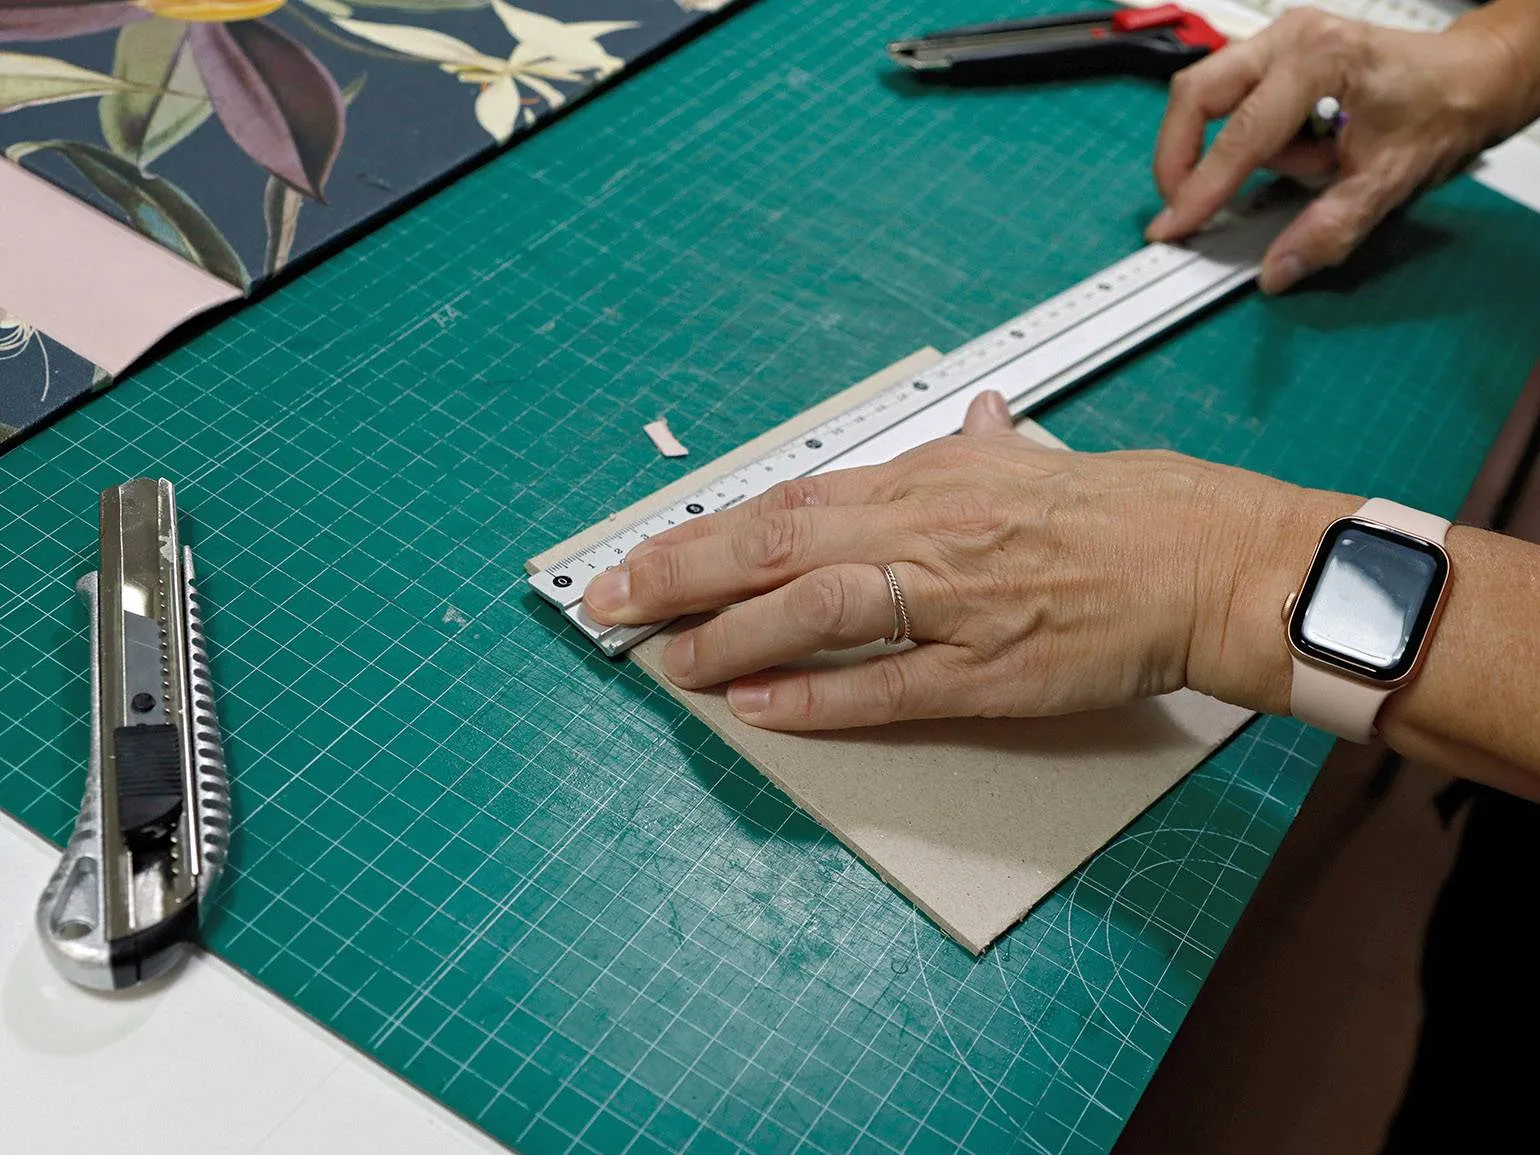
Cardboard is recommended for creating a hard cover, and thick paper for a soft cover. The front and back covers, as well as the spine, are cut on a cutting mat using a cutter and ruler, strictly following the dimensions of your book. The cover should be slightly larger than the book pages to ensure reliable protection and a pleasing appearance. Creating a book yourself is certainly the most challenging step. To better understand the process, it is recommended to see it in action. In this guide, you will find a detailed tutorial that covers all the key stages: from stitching and gluing the block to creating a classic cover. By following these steps, you will be able to produce a high-quality book yourself.
Profession Photographer
You will learn to take professional photos from scratch. You will learn how to organize shoots, process frames, manage models and a team. Find your style, build an impressive portfolio, and start making money doing what you love.
Find out more